
StarNet2GUI for macOS
A macOS GUI wrapper for Nikita Misiura's amazing StarNet2.
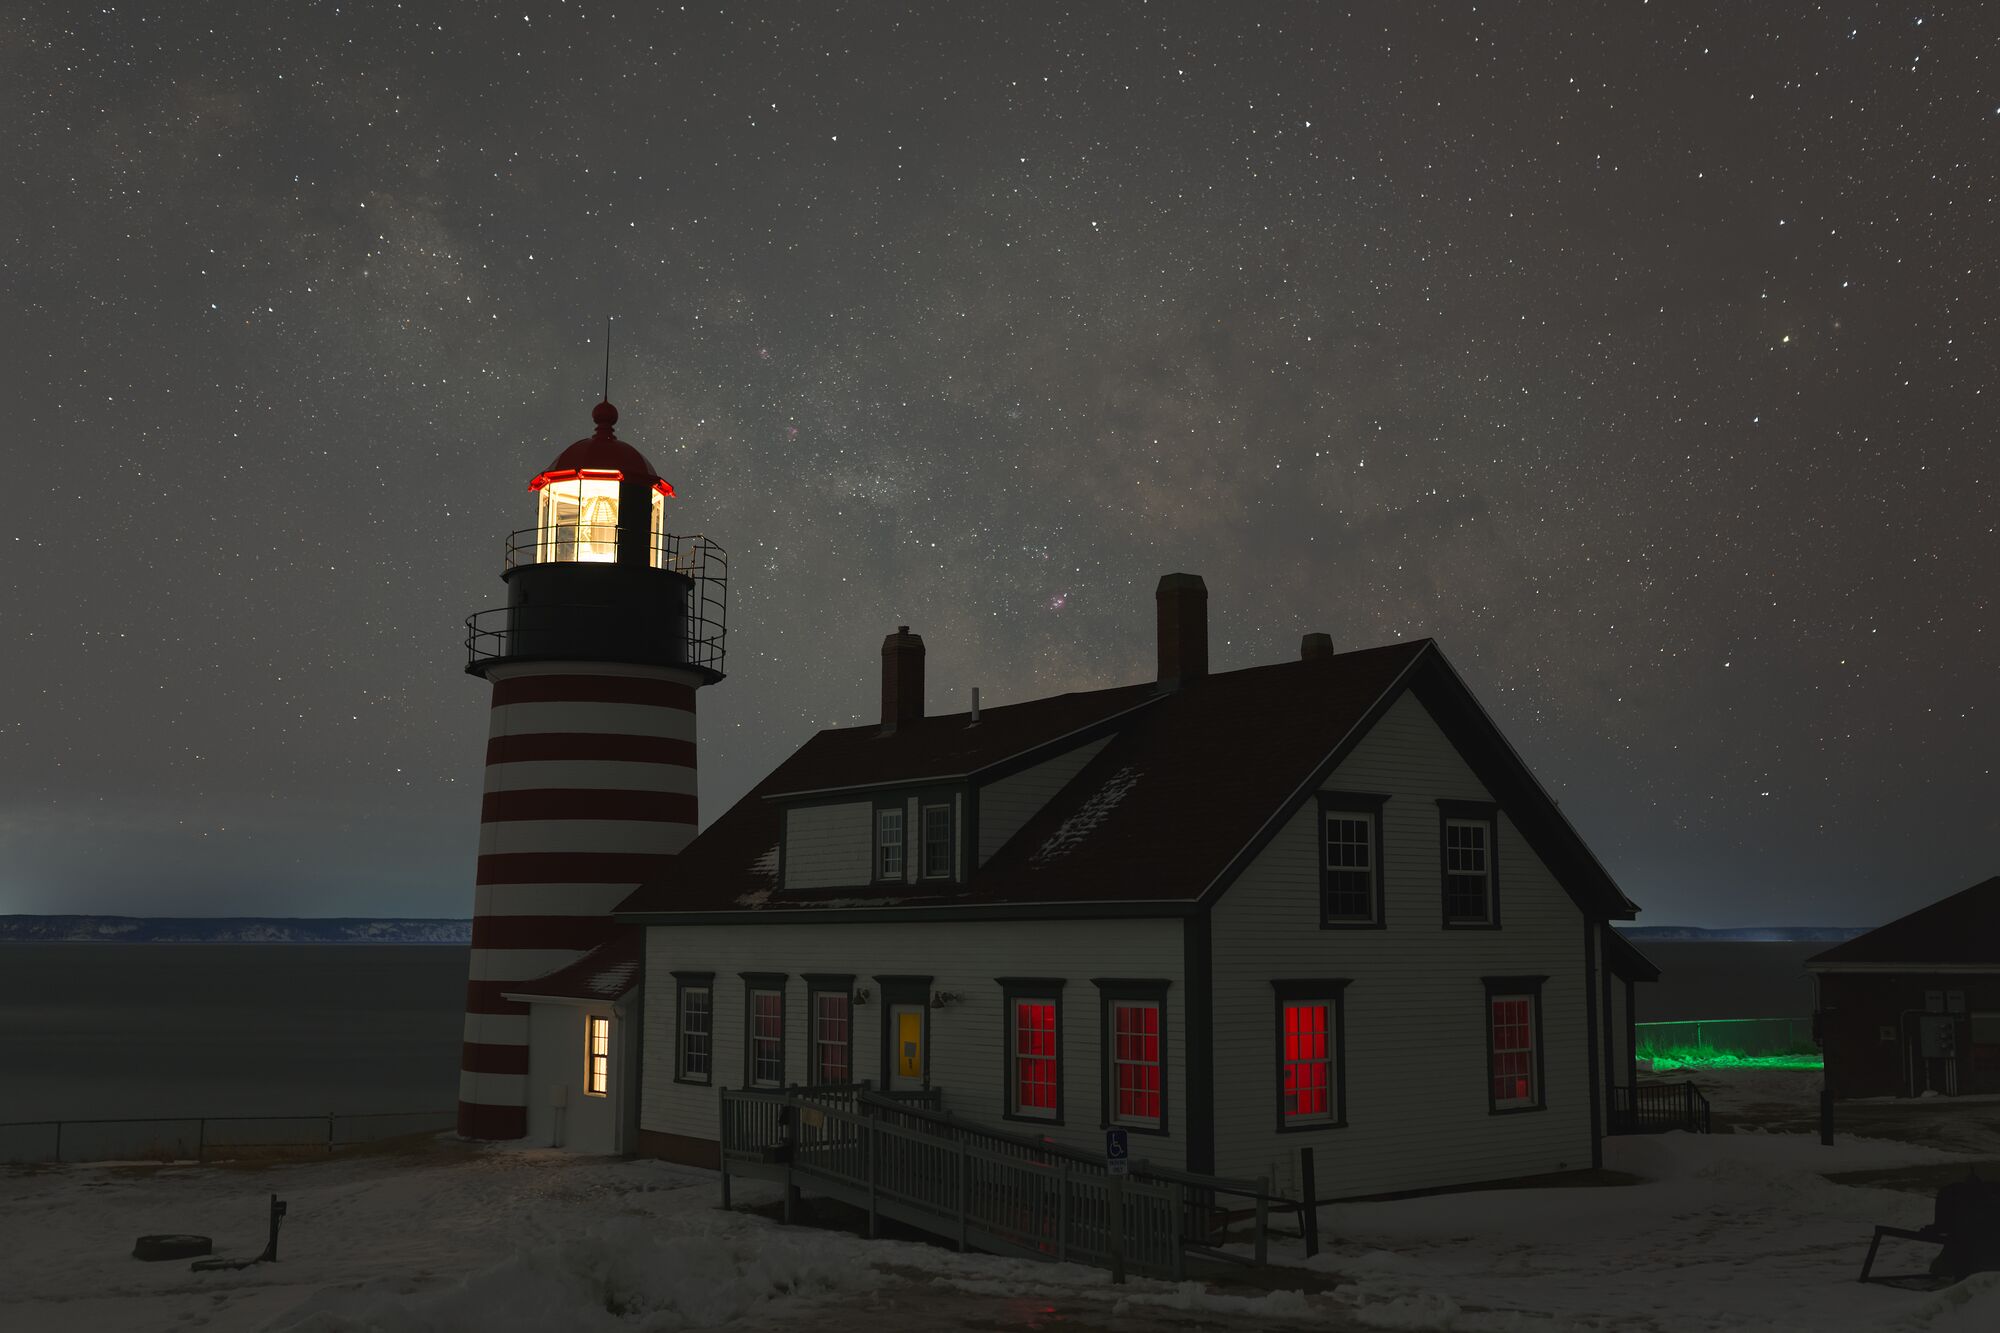
Before Editing
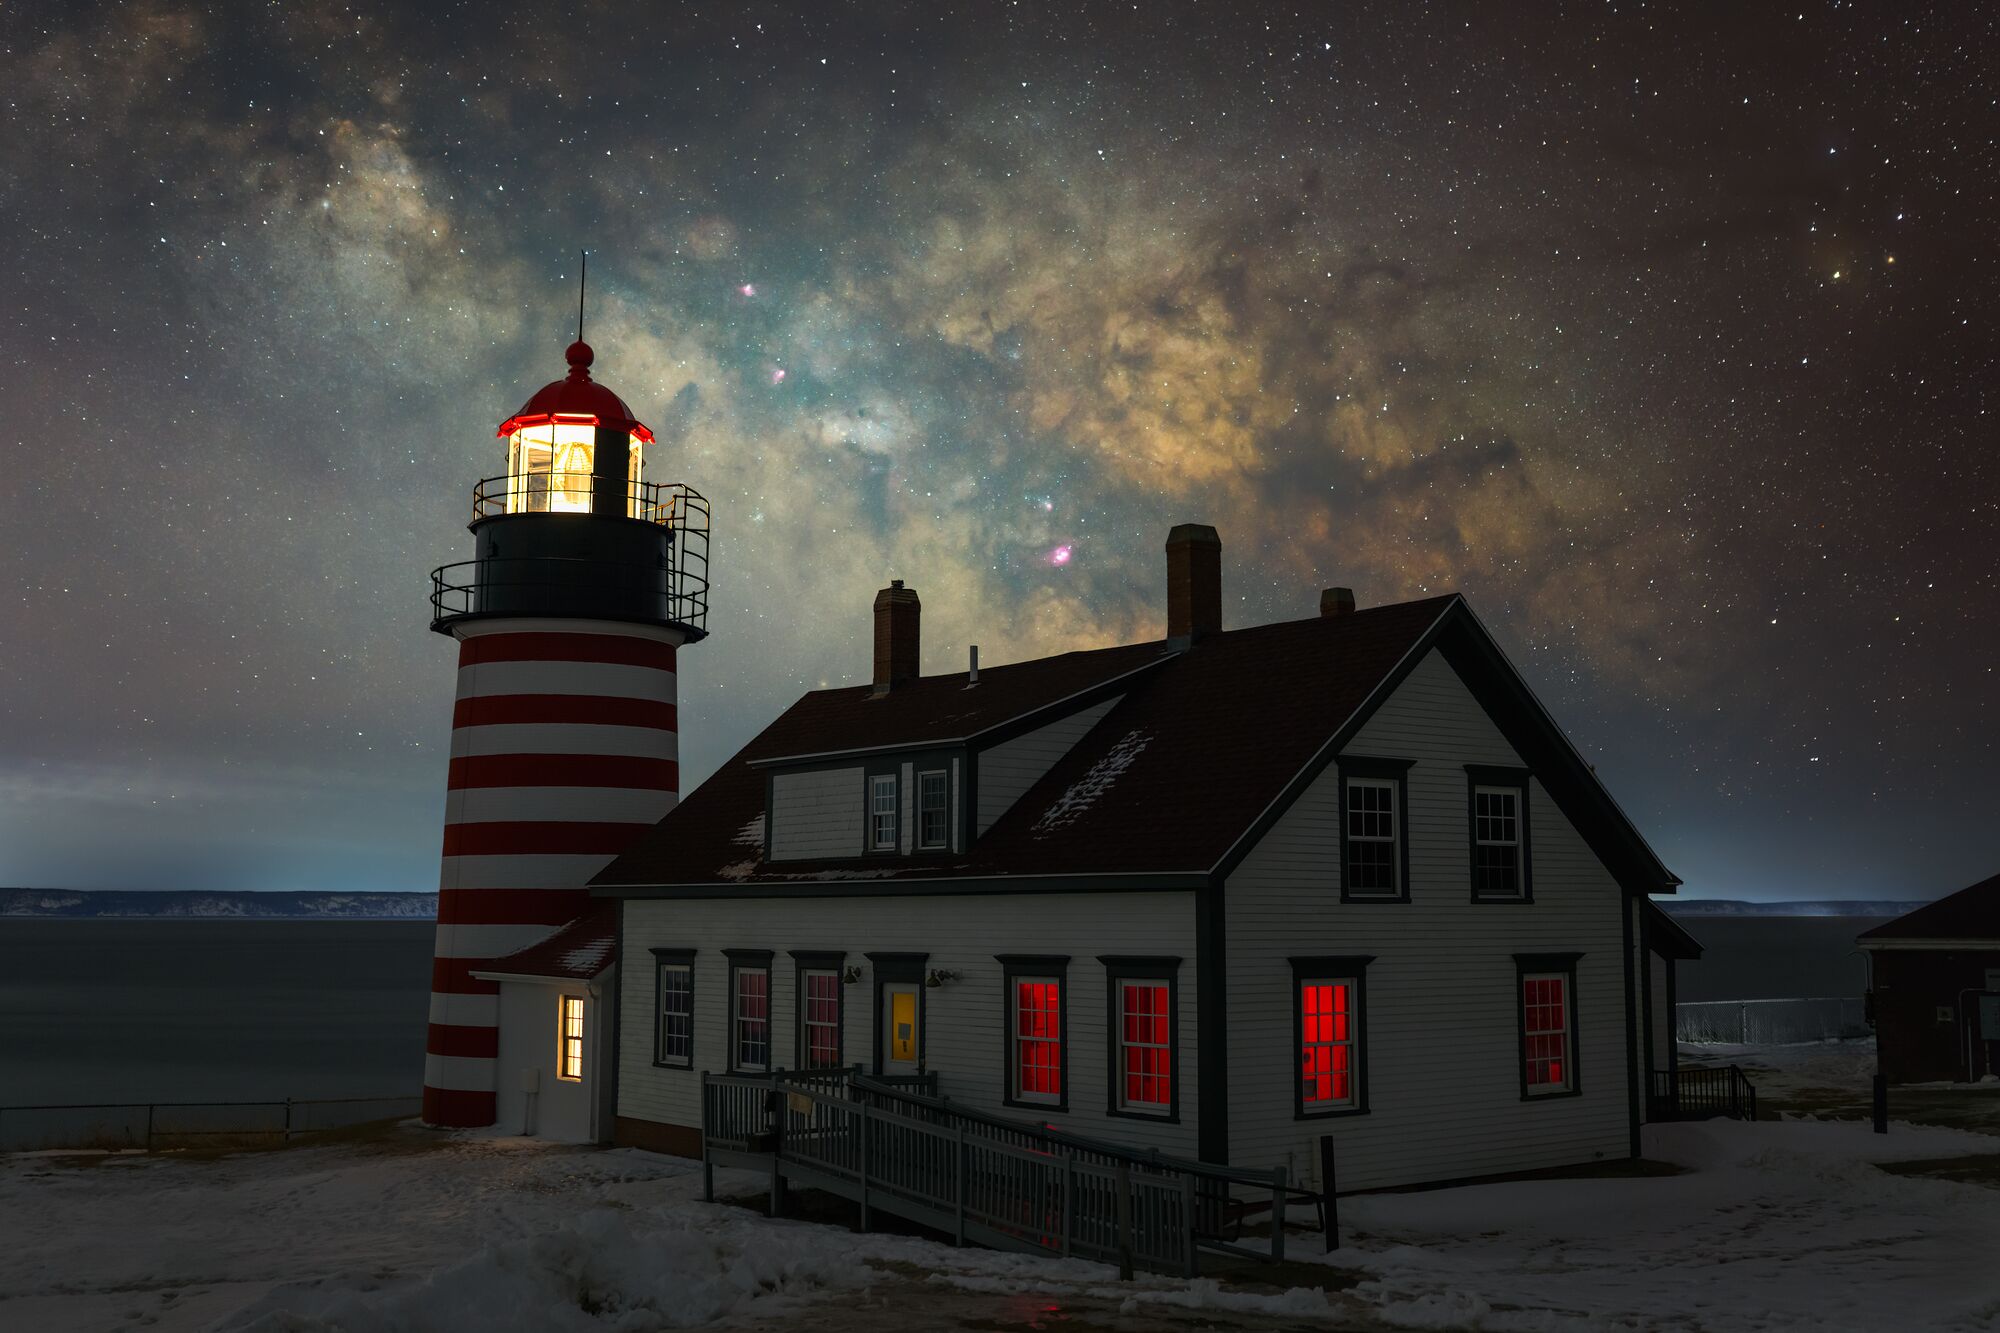
After Editing, using StarNet2 along the way
StarNet2 uses machine learning (AI) to remove stars from images, generating a starless file and a star mask file, allowing you to edit the starless file (sky) without affecting the stars, then add the stars back later (or never, your choice).
Editing the sky without the stars allows you to bring out detail in nebulosity without causing the stars to blow out to pure white and "grow" in size.
In Photoshop you can stack the stars layer on top of the starless layer, then set the stars layer to the "Linear Dodge (Add)" blending mode.
System Requirements
Apple Macintosh with M1 or newer CPU. Not supported on older Intel CPUs.
This is a wrapper around the StarNet2 CLI for macOS created by Nikita Misiura. For Windows check out the existing Windows GUI or CLI (scroll to the bottom of that page). You can also use StarNet in Siril or PixInsight, see the official site for more info.
Additional Info
Intended primarily for deepspace images, StarNet also works on wide field landscape astrophotography images, which is how I use it.
I created this GUI wrapper to make it easier for non-computer savvy people to use StarNet2 without having to learn the CLI, Siril, or PixInsight. For Windows users see the existing Windows GUI (see above).
StarNet has had a few iterations over the years. The current best version is StarNet2, and on my M3 MacBook Pro it is very fast at removing stars from 48MP 16-bit TIFF images.
Be careful with blending and editing when using landscape images, the starless / star mask files generated by StarNet2 will include any very bright areas from the foreground, you will want to mask these out. I suggest using your original image (before it was sent through StarNet2) on a bottom layer in Photoshop, and masking the starless image on top of that just exposing the sky. As your very top layer put the star image generated by StarNet2 (set to "Linear Dodge (Add)").
Example Workflow
Here is an example for a landscape astrophotography image:
1. Load your sky image into StarNet2 GUI. Use a high quality color file, e.g. 16-bit ProPhoto RGB TIFF. For the "Stride" value (bottom left of the GUI) you can leave it set to 384 (the default) and see how it performs — that is a good value for wide field images (including landscape astrophotography). For deep space images you might want to use 256, and you can go as high as 512 if you're still not getting stars removed with wide field images.
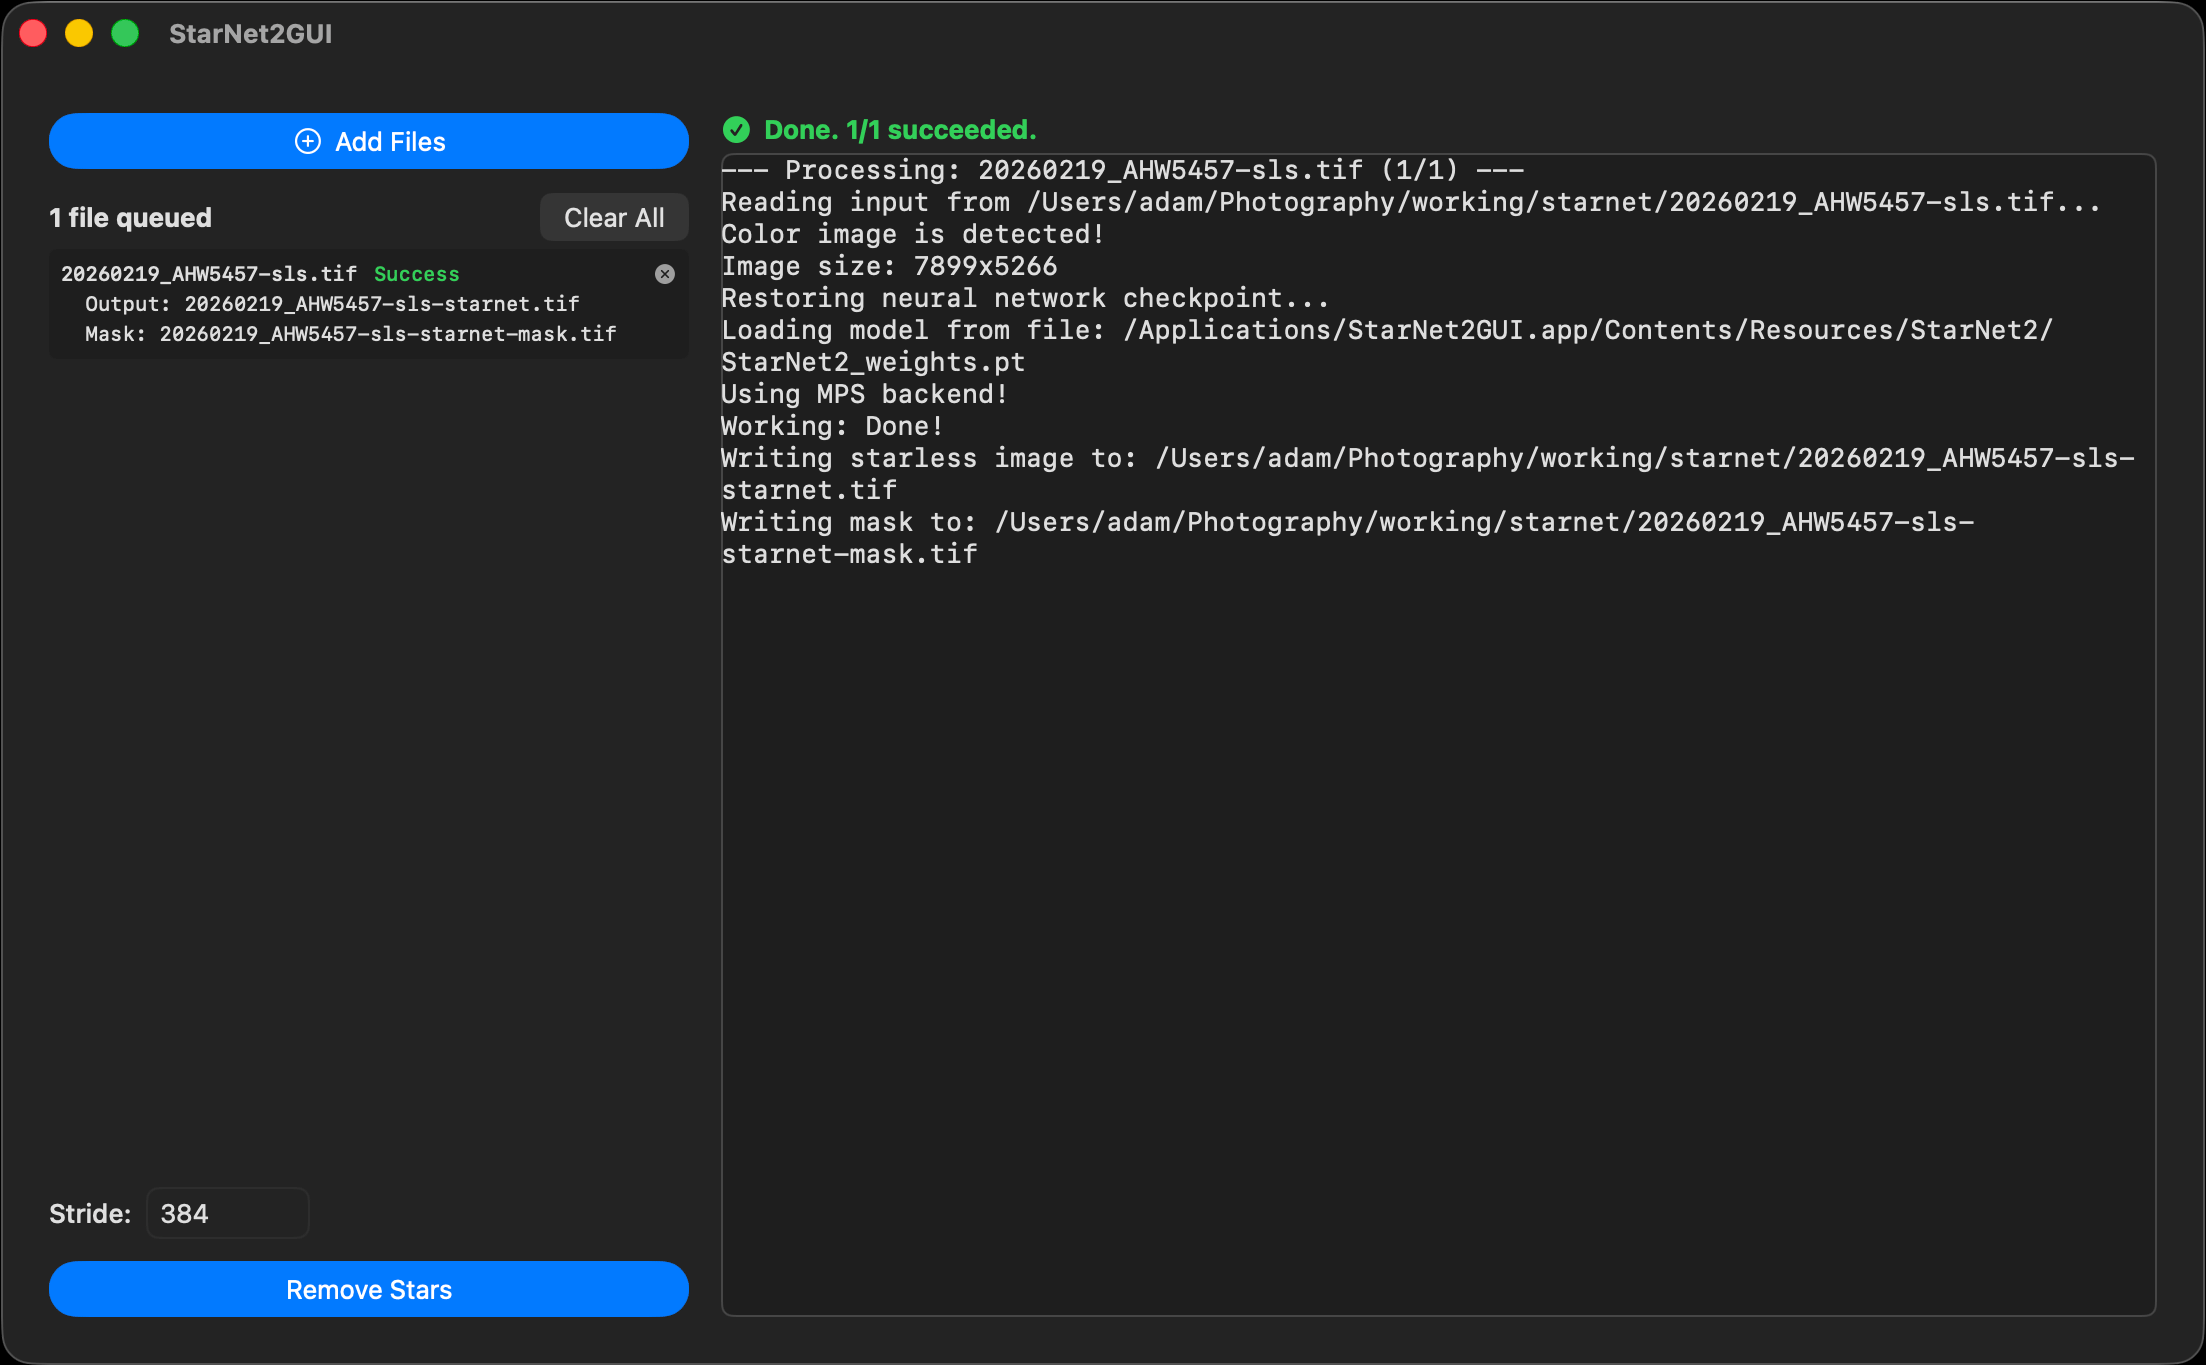
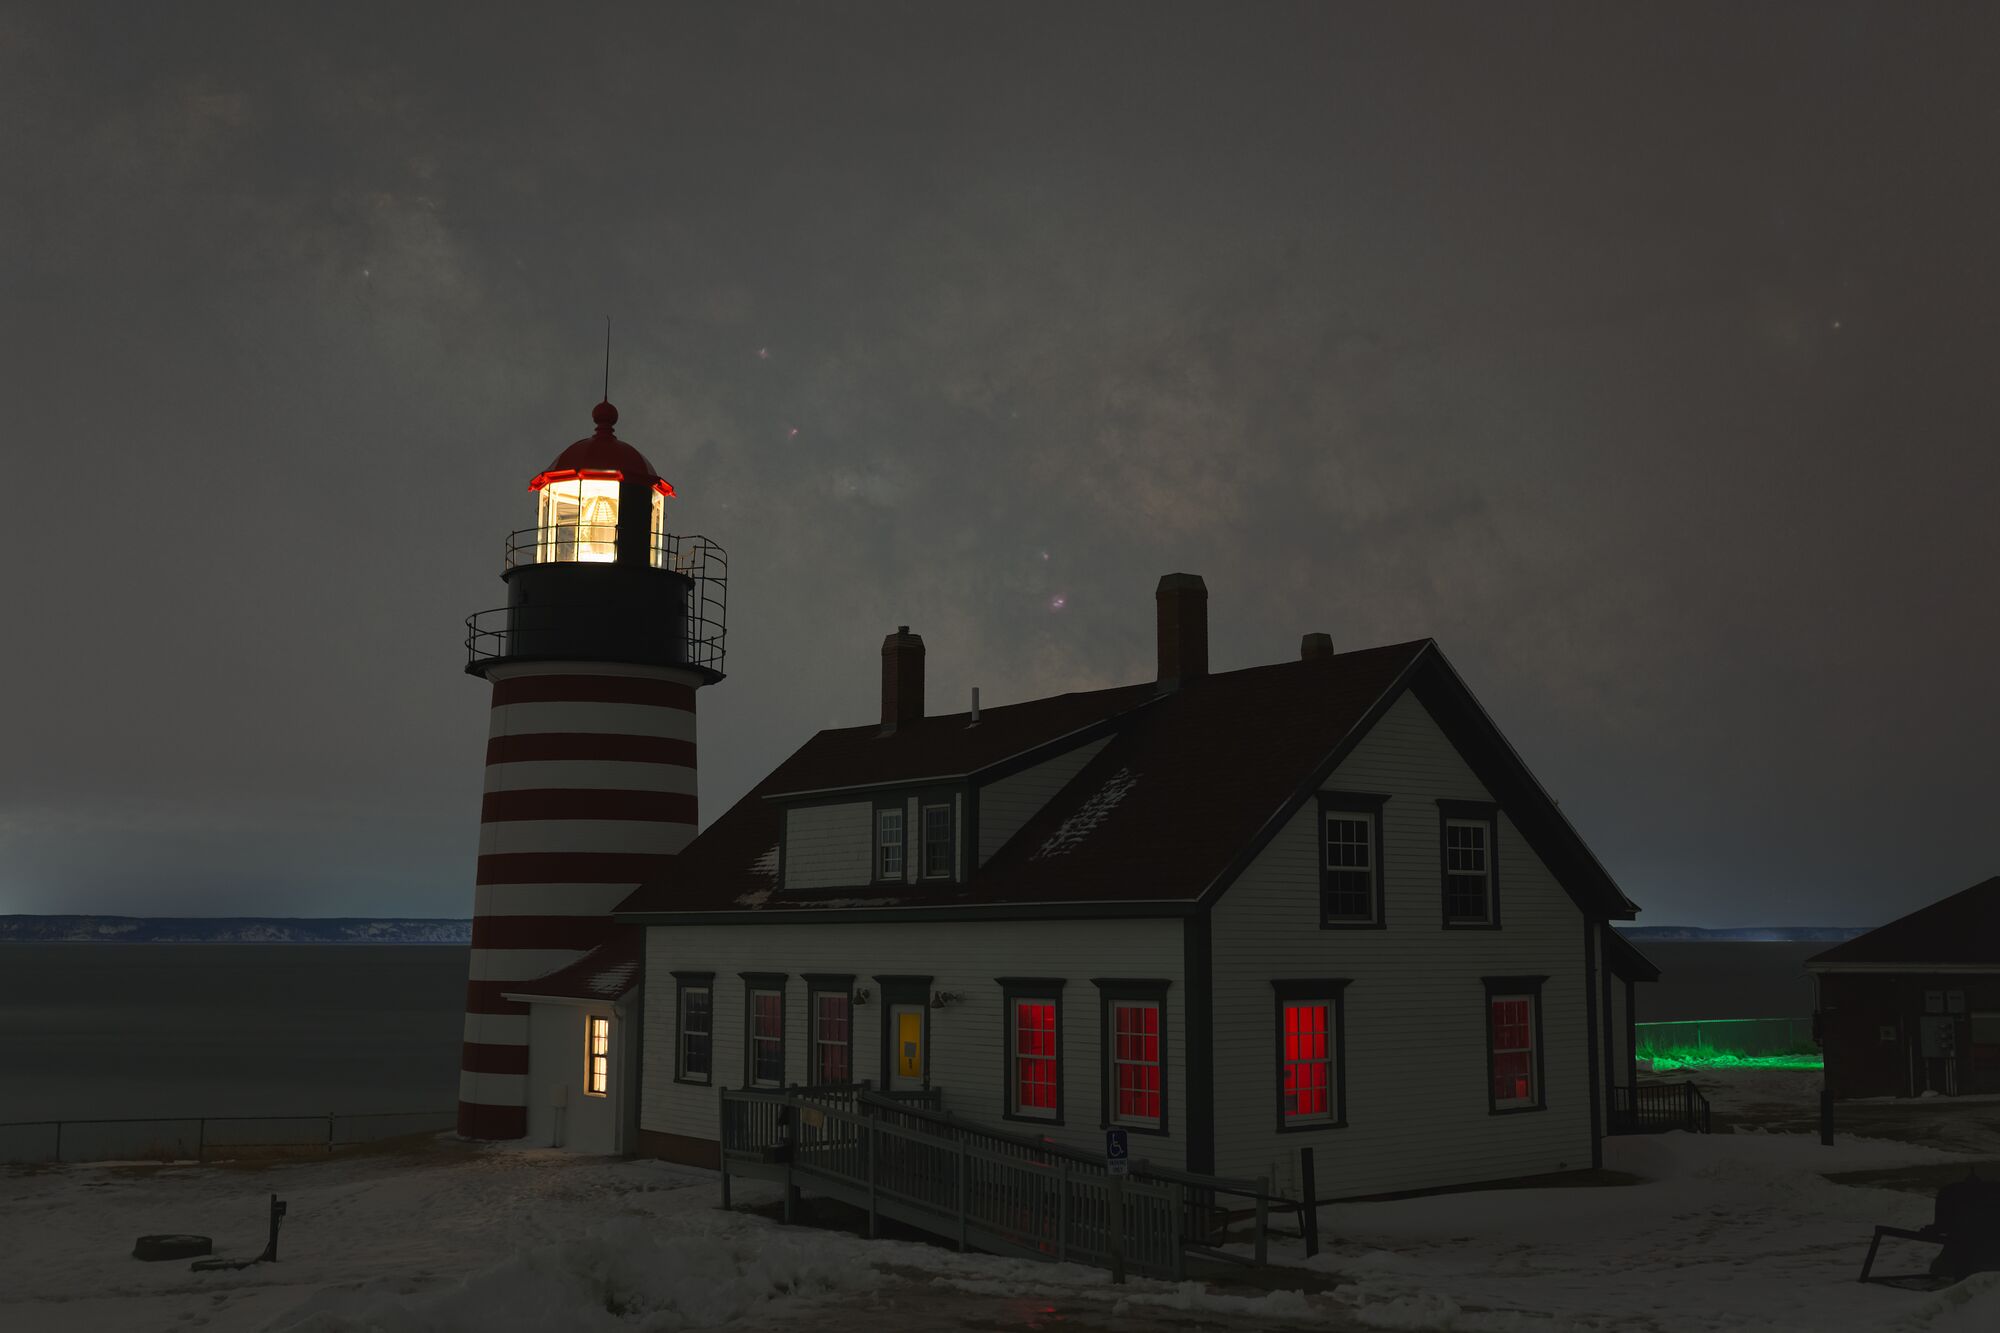
2. StarNet 2 will generate 2 new files:
A starless "-starnet" file that is the original image with stars removed:
And a "-starnet-mask" file that is just the stars (and other highlights):
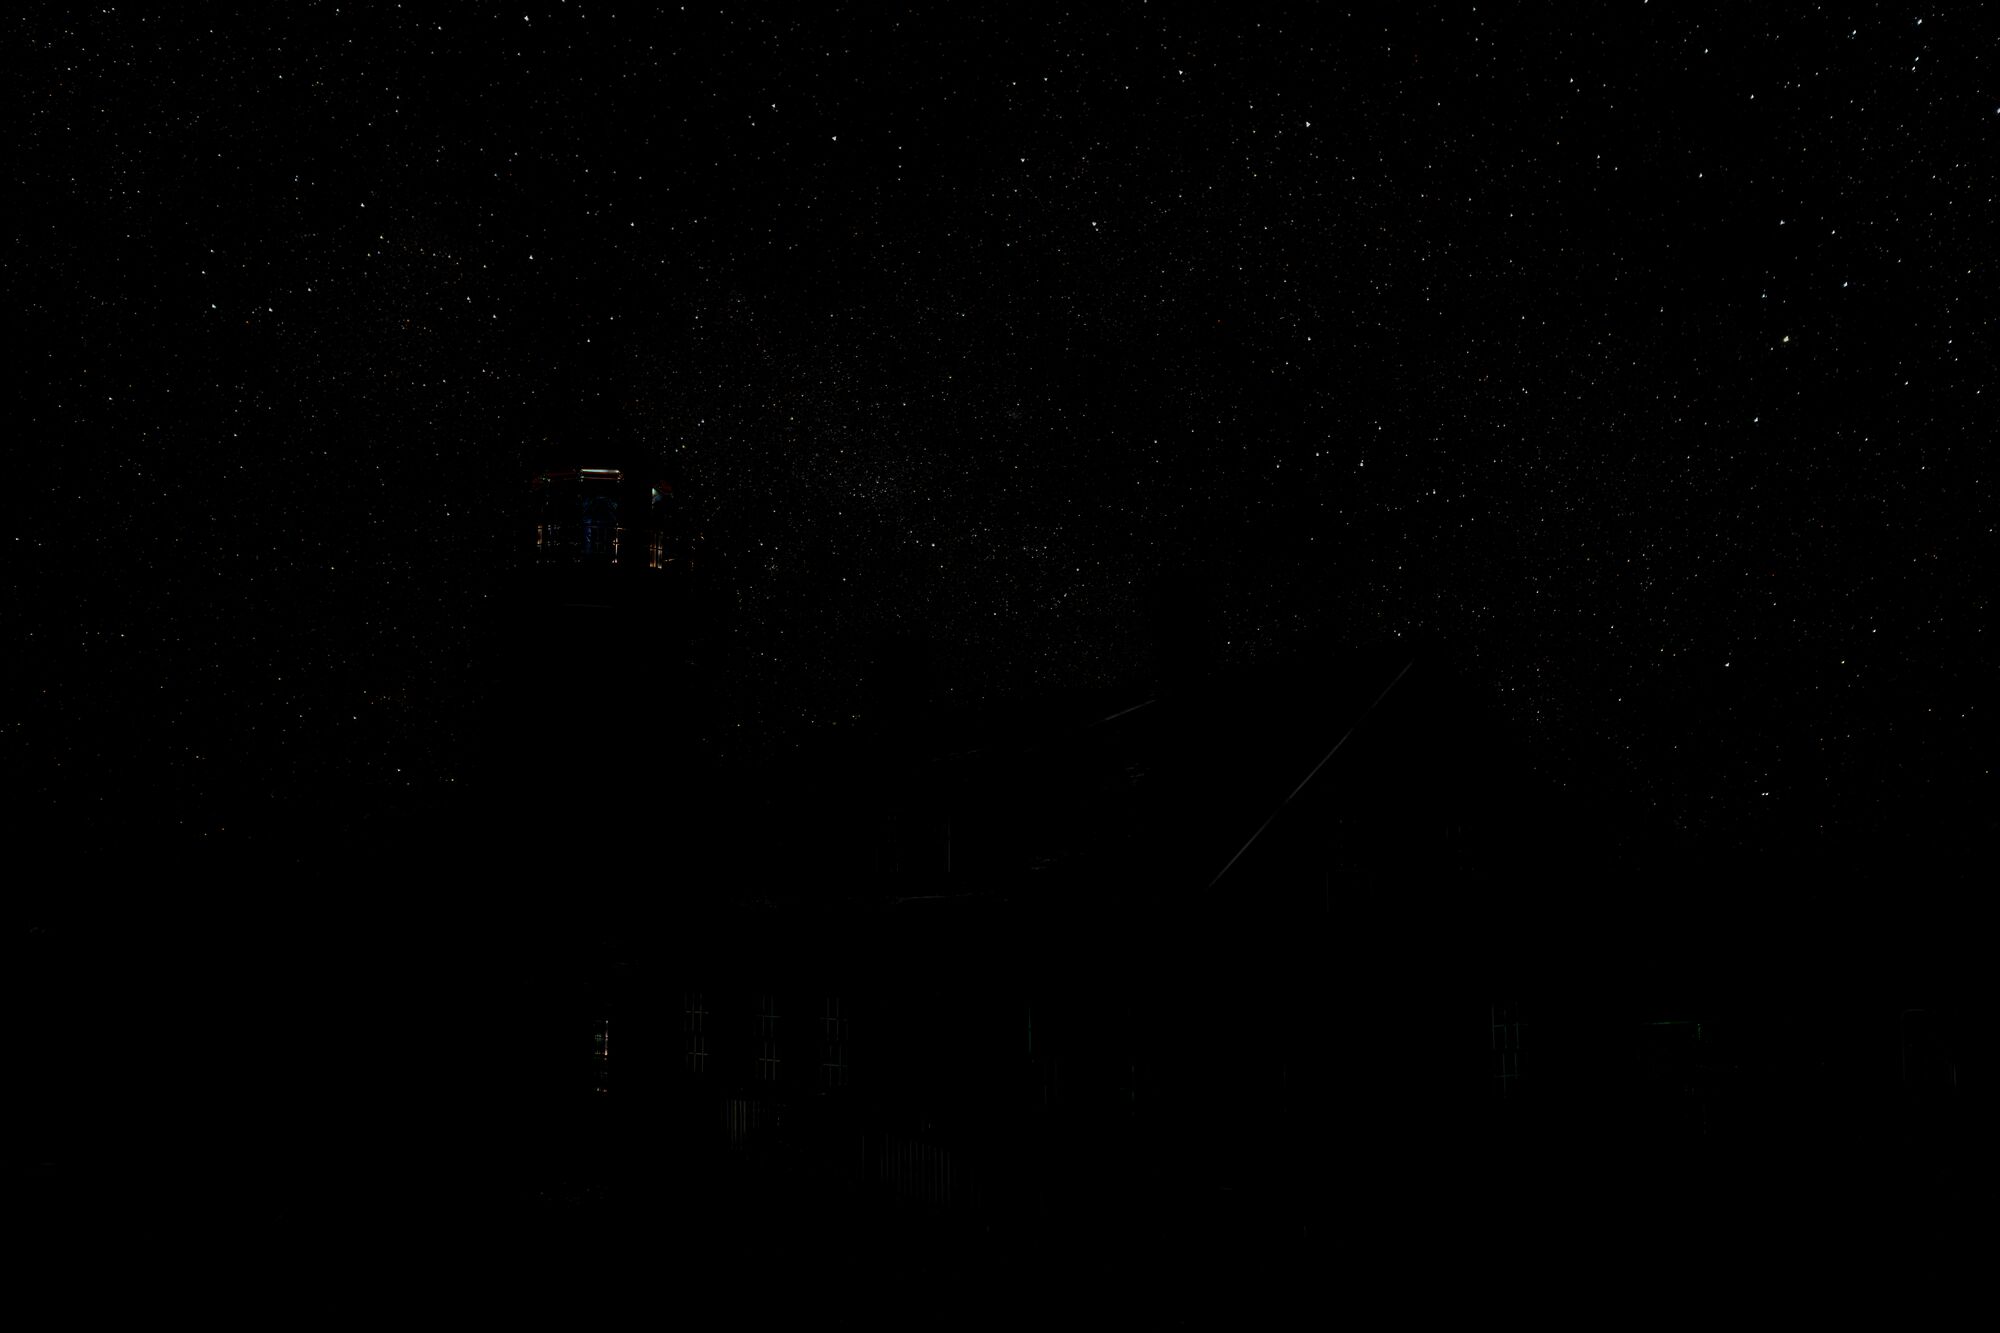
3. Load your original file, starless file, and starnet-mask file into Photoshop as layers in that order (from bottom to top). Mask in the original file as needed, or a separate foreground exposure. For landscape astrophotography images there might be highlights in the foreground that were removed in the starless image, so be sure to inspect closely and mask in the original/foreground as needed. For deep space you may only be using the starless file and star mask.
4. Set the blending mode of the starnet-mask layer to "Linear Dodge (Add)". This should bring back the stars and the result should look identical (or just about) to your original image.
5. Edit the layers below the starnet-mask (and/or hide the starnet-mask layer) to bring out detail and colors. Make sure you're editing the sky, not the stars! I find that hiding the star-mask layer helps see what is going on in the sky detail.
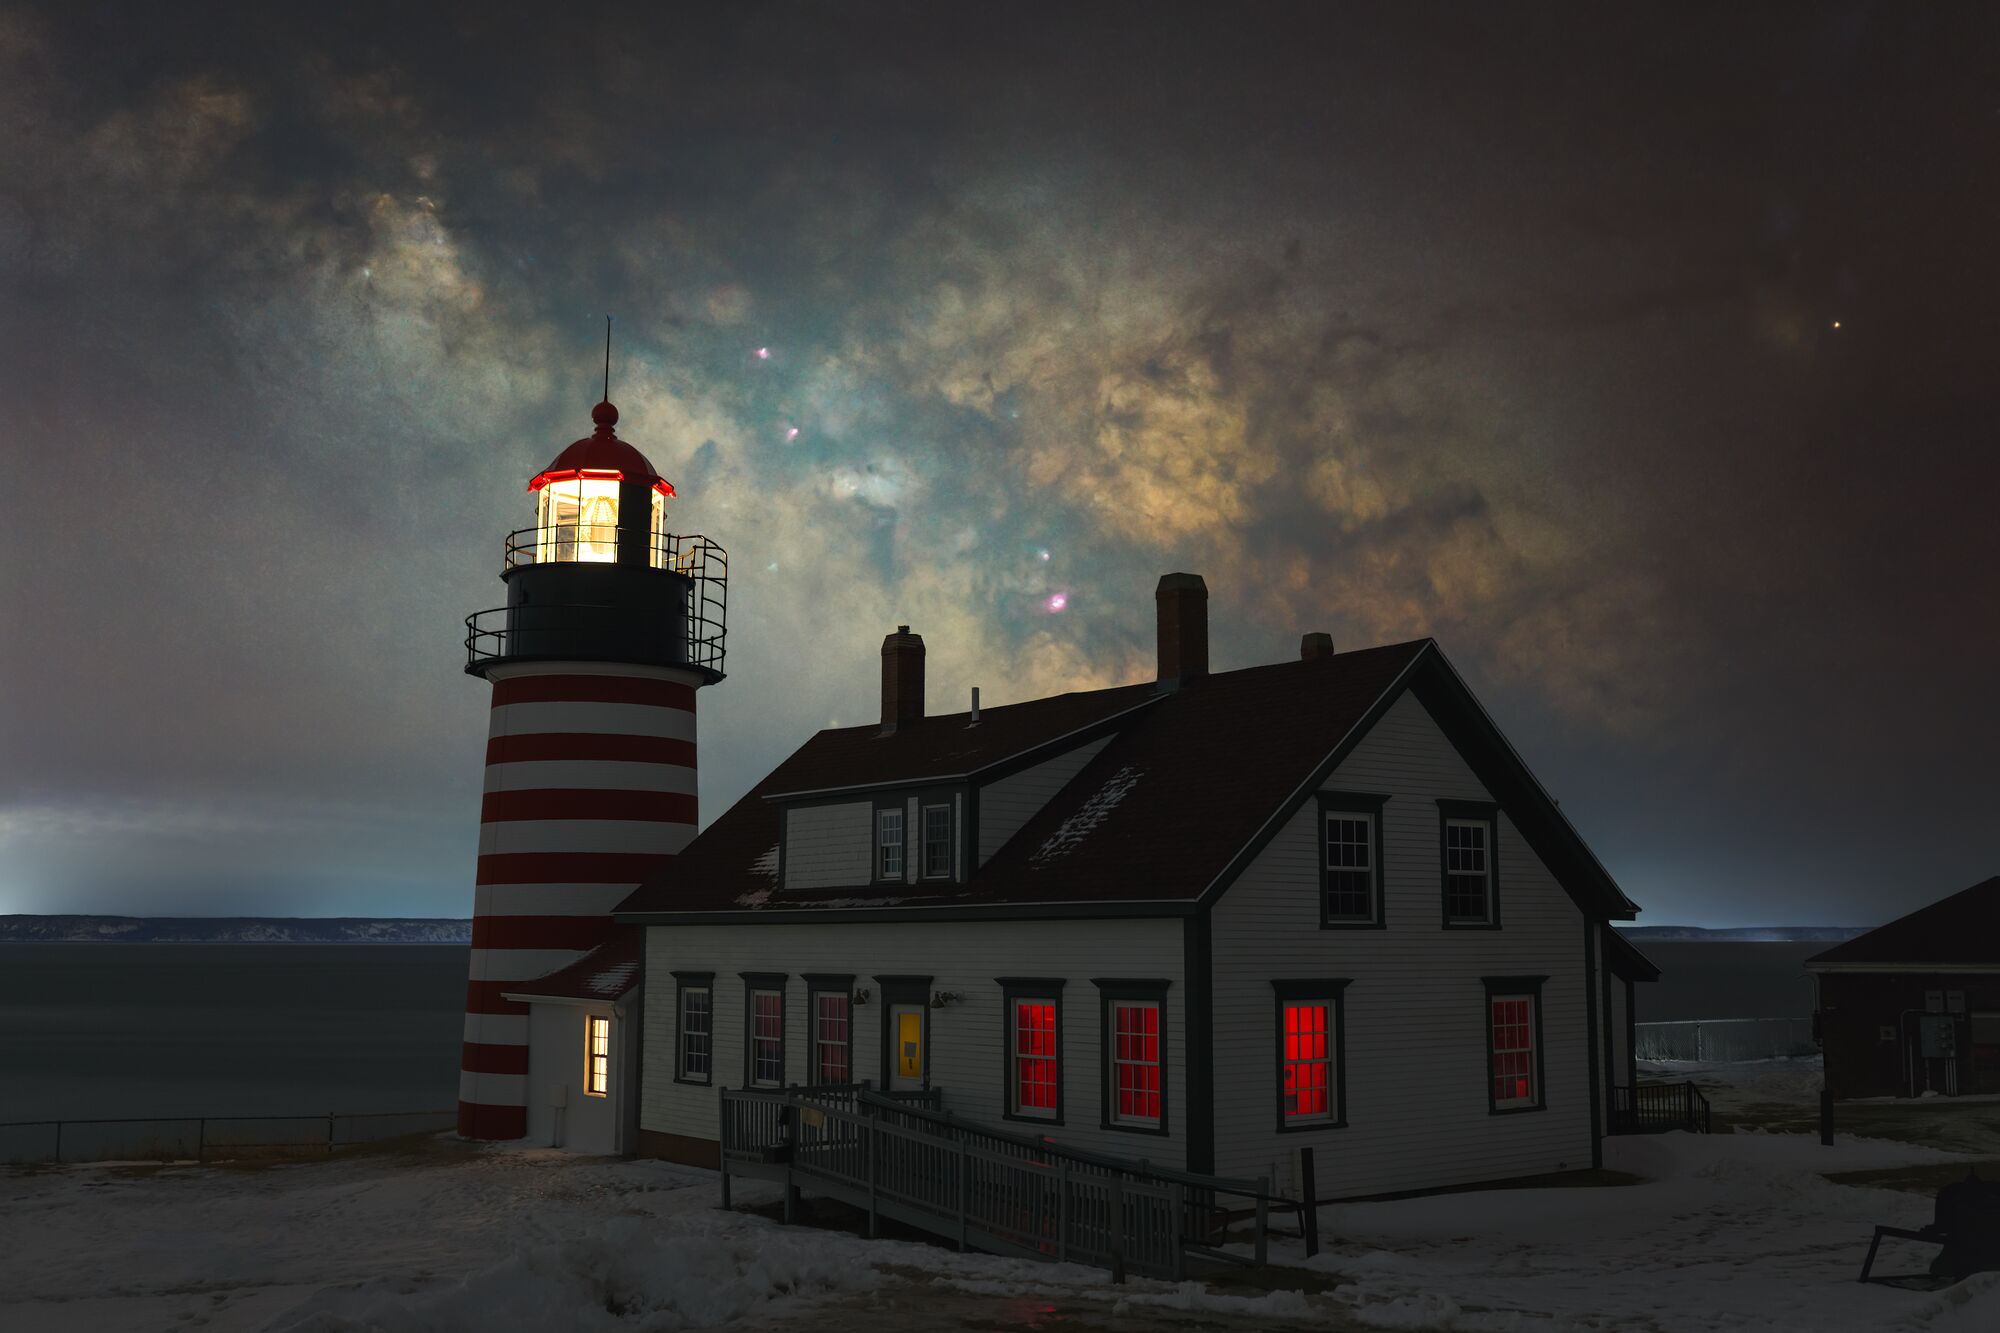
6. Finish your editing and un-hide the starnet-mask layer!